Trending Now
Popular Products
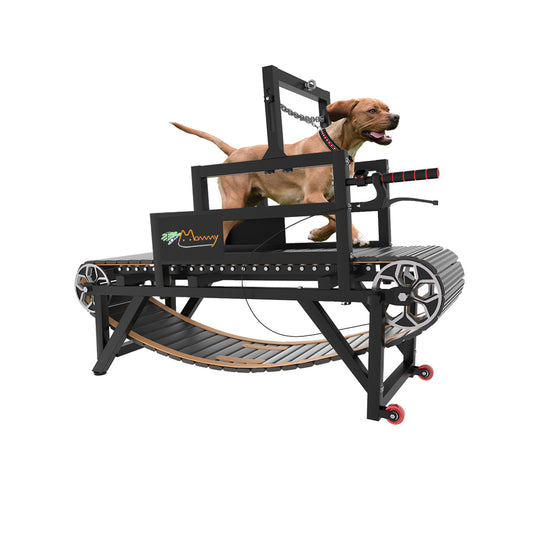
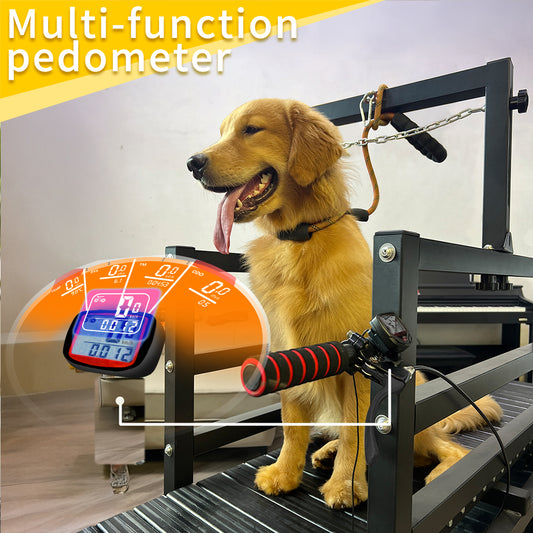
Dog Treadmill with Disc Brake, Resistance Adjustment, Paw-Friendly PE Slatmill & Speedometer - Heavy Duty Dog Treadmill for Large & Medium Dogs, Supports Up to 300 lbs, Easy to Move
- $789.99
$899.99- $789.99
- Unit price
- / per
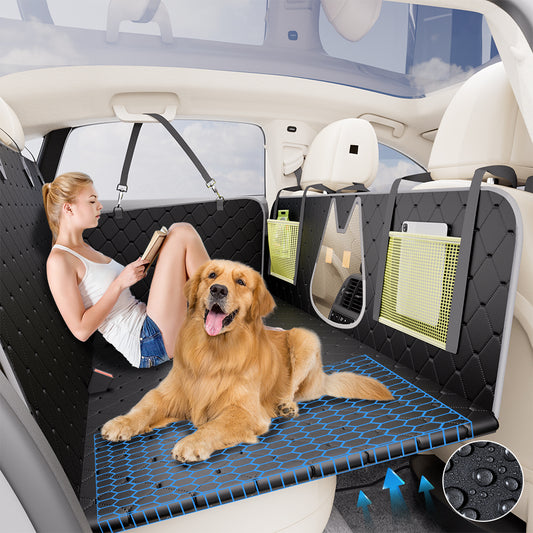
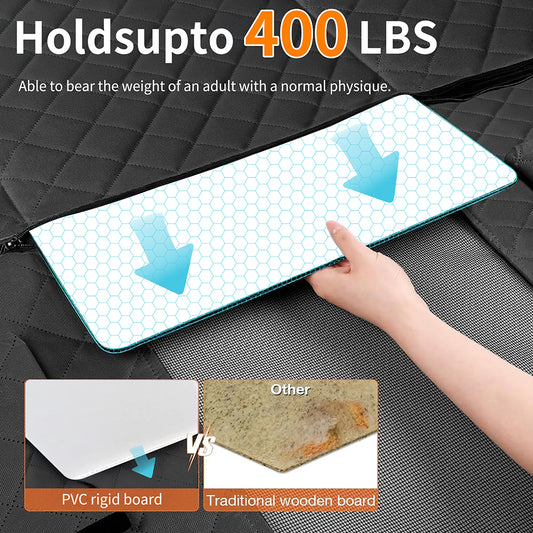
Dog Car Seat Cover for Back Seat - Heavy-Duty Hard Bottom Extender, Waterproof & Non-Slip Chew-Proof SUV/Truck Travel Bed for Aggressive Chewers
- $99.99
$129.99- $99.99
- Unit price
- / per
-
Black
Installation Manual
Before installation, please check the parts list to ensure that all components of the dog treadmill are present. In case of any missing parts, please send an email to service@toy-mommy.com immediately, and we will arrange for replacement parts to be sent out as soon as possible.
Step 1: Install the bottom bracket (E) of the treadmill using self-tapping screws (B) as shown in Figure 1, under the main body (D) of the treadmill.
Step 2: Fix the left and right side panels (F) of the treadmill to the top of the main body (D) using self-tapping screws (B) as shown in Figure 2.
Step 3: Fix the gantry (G) of the treadmill to the left and right side panels (F) installed in Step 2 using adjustment nuts (C).
Step 4: For the final step, first fix the fixed chain (I) to the rear of the gantry (G) using a movable screw ring, ensuring that the knob of the movable screw ring is facing the inside of the unbranded nameplate. Finally, install the four base fixing brackets (J) between the bottom bracket (E) and the main body (D) of the treadmill using small screws (A), and ensure that all connection points are securely fastened with screws.
Now, with your dog, enjoy the wonderful experience of the ToyMommy dog treadmill.
- Choosing a selection results in a full page refresh.


